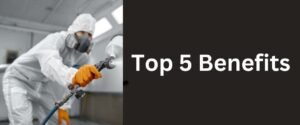
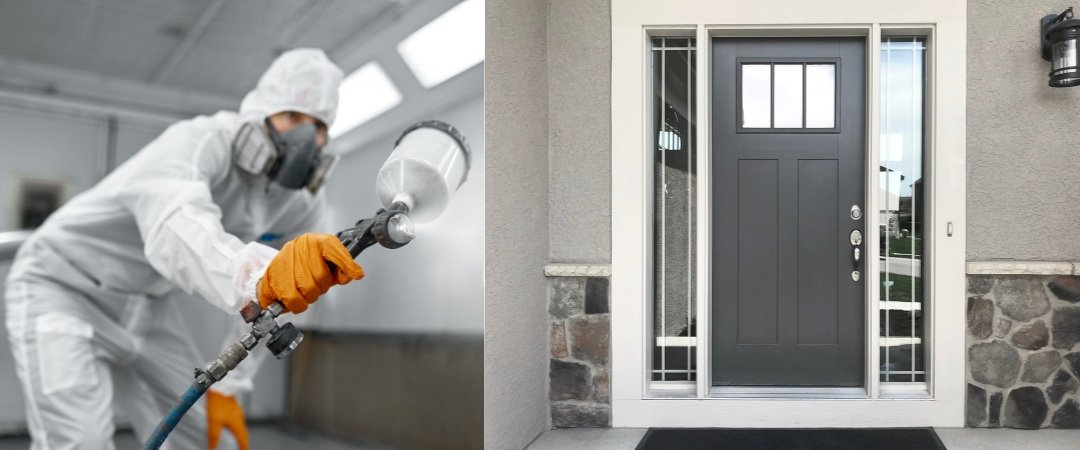
It is a fair question. If UPVC spraying is essentially cleaning, prepping, and painting a plastic surface, surely you can do it yourself and save a few hundred pounds?
The honest answer is: technically, yes, you can spray UPVC yourself. But in practice, the gap between a DIY result and a professional finish is enormous. I have been spraying UPVC professionally for over 11 years, and a significant number of the jobs we take on are fixing DIY attempts that have gone wrong. Peeling paint, uneven coverage, drips and runs, orange peel texture, and colour inconsistency are the issues I see most often.
That said, I am not here to tell you that DIY is impossible. Some people do manage a reasonable result, particularly on smaller projects like a single door or a back window that is not highly visible. What I want to do in this guide is give you a genuinely honest picture of what is involved, what you need, what commonly goes wrong, and help you decide whether DIY or professional is the right choice for your situation.
What Does DIY UPVC Spraying Actually Involve?
Before you decide whether to tackle this yourself, you need to understand the full scope of the work. UPVC spraying is not a quick Saturday morning project. Even a single window frame involves multiple stages, each of which needs to be done properly for the finished result to last.
Step 1: Thorough Cleaning
Every trace of dirt, algae, cobwebs, and grime needs to be removed. This is not a quick wipe. You need to scrub the frames with a specialist UPVC cleaner or sugar soap solution, paying particular attention to corners, drainage channels, and textured areas where dirt accumulates. Any contamination left on the surface will prevent the paint from bonding properly.
Step 2: Degreasing
Even after cleaning, UPVC frames carry invisible residues from silicone sprays, hand oils, and atmospheric pollution. These must be removed with a solvent-based degreaser or isopropyl alcohol. Skipping this step is one of the most common reasons DIY UPVC paint jobs fail within the first year.
Step 3: Abrading the Surface
UPVC has a smooth, slightly waxy surface that paint struggles to grip. You need to lightly abrade the entire surface with a fine Scotch-Brite pad or 320 to 400 grit sandpaper to create a key for the paint to bond to. This needs to be done evenly across every frame, including edges, corners, and rebates. Our preparation guide covers this process in detail.
Step 4: Applying Adhesion Promoter
After abrading, a specialist adhesion promoter needs to be applied to the UPVC. This is a chemical primer designed specifically for plastic substrates that creates a bond between the UPVC surface and the paint. Without it, even the best paint will eventually lift. Adhesion promoter needs to be applied evenly and allowed to flash off before painting.
Step 5: Masking
Every piece of glass, every rubber seal, every window sill, and every section of brickwork surrounding the frames needs to be carefully masked with tape and protective sheeting. Masking is time-consuming and fiddly, but it is what separates a clean, professional-looking job from a messy one. Poor masking is immediately obvious and very difficult to correct after the paint has dried.
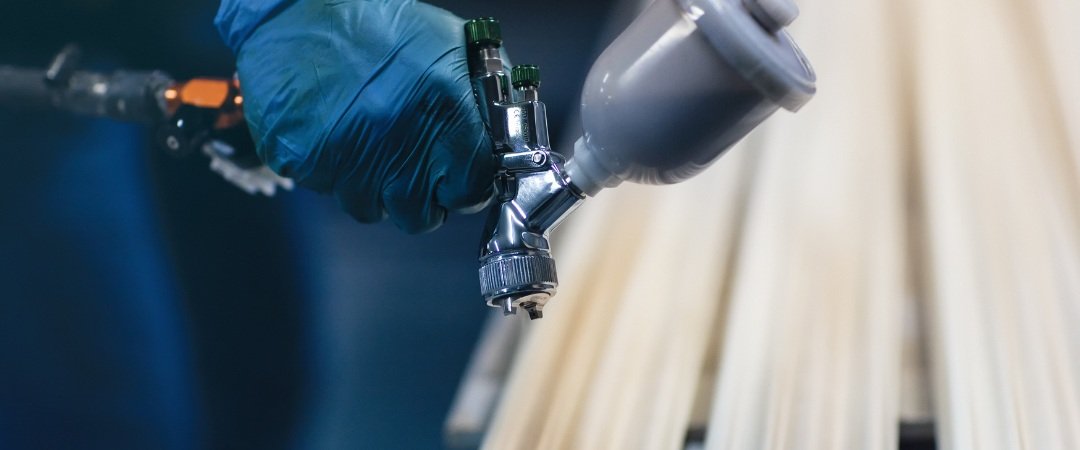
Step 6: Painting
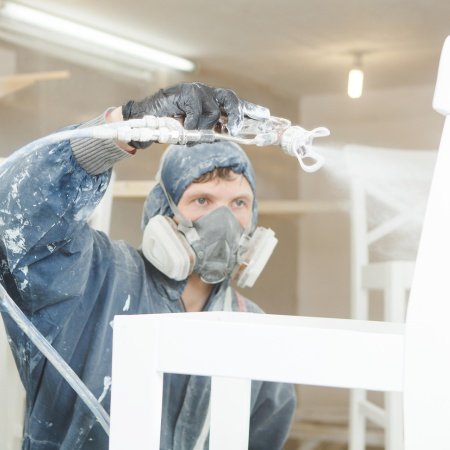
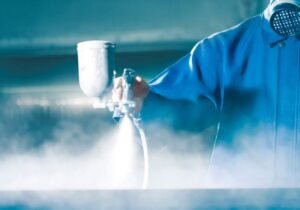
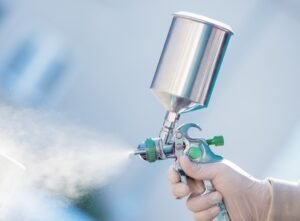
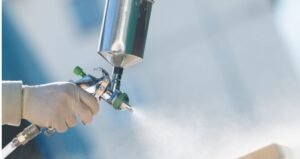
The paint itself needs to be applied in thin, even coats. Too thick and it drips, sags, or develops orange peel texture. Too thin and the coverage is patchy. The spray gun or aerosol needs to be held at a consistent distance and moved at a steady speed. Multiple light coats are always better than one heavy coat.
Step 7: De-masking and Touch-Up
Masking tape needs to be removed at exactly the right time. Too early and the paint edges bleed. Too late and the tape pulls away cured paint with it. Any imperfections need to be touched up carefully without disturbing the surrounding finish.
What Equipment Do You Need for DIY UPVC Spraying?
If you are serious about attempting a DIY UPVC spray, here is the minimum equipment you would need.
- UPVC cleaner or sugar soap
- Solvent degreaser or isopropyl alcohol
- Fine Scotch-Brite pads or 320 to 400 grit sandpaper
- Adhesion promoter for plastics
- UPVC paint (ideally 2K polyurethane, though many DIYers use single-pack acrylic)
- Spray equipment: either aerosol cans, an electric HVLP sprayer, or an airless sprayer
- Masking tape (automotive quality, not household masking tape)
- Protective sheeting or masking paper
- Dust mask, safety goggles, and disposable gloves
- Tack cloths for removing dust after abrading
- Clean, lint-free cloths
The total cost of materials for a DIY project on a full house can easily reach £200 to £400 or more, especially if you need to buy or hire spray equipment. If you are using aerosol cans of UPVC paint, you will need a surprising number of them. A single standard window frame can use two to three cans, and at £8 to £15 per can, the cost adds up quickly. For context on what professionals use, see our guide on what spray paint to use on UPVC.
The Most Common DIY UPVC Spraying Mistakes
Having corrected hundreds of failed DIY UPVC paint jobs over the years, I can tell you the same mistakes come up again and again.
Not Degreasing Properly
This is the single biggest cause of failure. People clean the frames, but cleaning and degreasing are two different things. Household cleaners leave residues. Soap and water cannot remove silicone. Without a proper solvent degrease, the paint will look fine initially but start peeling within weeks or months, especially in areas that get direct sunlight or rain.
Using the Wrong Paint
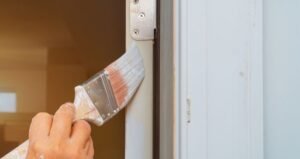
Many DIYers buy a tin of UPVC paint from B&Q, Screwfix, or Wickes and apply it with a brush or roller. These single-pack acrylic paints are designed for small touch-ups and are nowhere near as durable as professional 2K polyurethane paint. They are also much harder to apply evenly by hand. Brush marks, roller texture, and uneven coverage are almost unavoidable.
Applying Paint Too Thickly
When you are learning to spray, the natural instinct is to apply a thick coat to get full coverage in one pass. This is the wrong approach. Thick coats drip, sag, and develop an uneven texture that is very difficult to correct. Professional sprayers build up the colour in three or four very thin coats, each one adding depth and consistency to the finish.
Spraying in Poor Conditions
Wind, cold, damp, and direct sunlight all cause problems. Wind blows overspray onto glass and surrounding surfaces. Cold temperatures slow curing and reduce adhesion. Damp surfaces prevent bonding. Direct sunlight causes the paint to dry too fast, which leads to orange peel texture and poor levelling. Professionals know how to work around weather conditions and will reschedule rather than risk a bad result.
Poor Masking
Getting overspray on glass, seals, brickwork, or neighbouring surfaces is incredibly frustrating and time-consuming to clean up. Cheap masking tape lifts in the wind, does not create sharp edges, and can leave adhesive residue on glass. Professional masking with automotive-grade tape and purpose-made sheeting is a skill in itself.
No Guarantee
When you spray your own UPVC, there is no guarantee. If the paint peels after six months, the only option is to strip it all off and start again, or pay a professional to fix it. This can end up costing more than having it done professionally in the first place.
When Might DIY UPVC Spraying Be Worth Trying?
I would be dishonest if I said DIY never works. There are situations where a careful, patient DIYer can achieve a reasonable result.
- A single back door or window that is not highly visible and where a less-than-perfect finish is acceptable.
- A small touch-up to a scratched or scuffed area on an otherwise good frame.
- A temporary colour change on a rental property or a building that is due to be renovated.
- A garden shed, outbuilding, or garage side door where the stakes are low and the learning experience is more valuable than a flawless finish.
In all of these cases, the key is managing your expectations. A DIY finish will not look as smooth or last as long as a professional spray, but it may be perfectly adequate for situations where the visual standard does not need to be high.
When Should You Hire a Professional?
For most homeowners, professional UPVC spraying is the better choice. Here are the situations where hiring a professional is strongly recommended.
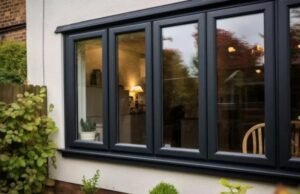
- Your front windows and door. These are the most visible parts of your property and any imperfections will be on full display every day. A poor finish on the front of the house is worse than no change at all.
- A full house of windows. The scale of the project makes DIY impractical for most people. Masking, prepping, and spraying eight to twelve windows is a multi-day undertaking that requires sustained attention to detail.
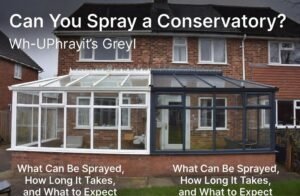
- Your conservatory. Conservatories have a lot of framework, complex angles, and hard-to-reach areas. They require professional equipment and experience to spray evenly.
- Any situation where you want the finish to last 10 years or more. Professional 2K paint, proper preparation, and experienced application are the only way to guarantee long-term durability.
- If you have already tried DIY and it has not gone well. Attempting to fix a failed DIY job with another DIY attempt usually makes things worse. A professional can strip the failed paint and start fresh.
DIY vs Professional: How Do the Costs Compare?
DIY Costs
Materials for a full house DIY project (cleaner, degreaser, abrasive pads, adhesion promoter, paint, masking tape, sheeting) will typically cost between £200 and £400. If you need to buy or hire spray equipment, add another £50 to £200. Your time investment will be significant: expect a full weekend or more for a complete house, assuming no mistakes or rework. If the job goes wrong and you need to pay a professional to correct it, the total cost can easily exceed what professional spraying would have cost in the first place.
Professional Costs
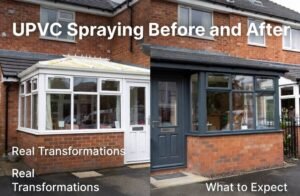
Professional UPVC spraying for a typical three-bedroom house with eight to ten windows costs between £800 and £1,500. This includes all materials, preparation, paint, masking, application, and a 10-year guarantee. The work is usually completed in a single day with no disruption to your routine. For a full pricing breakdown, see our UPVC spraying cost guide.
The Real Cost Difference
On paper, DIY saves you £400 to £1,000 compared to professional spraying. But when you factor in the value of your time, the risk of mistakes, the cost of materials, the likelihood of needing corrections, and the absence of any guarantee, the actual saving is much smaller than it appears. For a project that will be on display on the front of your house for the next decade, most homeowners conclude that professional spraying is the better investment.
Should I DIY or Go Professional? A Quick Checklist
Ask yourself these questions to help you decide.
- Is this a highly visible part of my property (front windows, front door)? If yes, go professional.
- Am I spraying more than two or three items? If yes, go professional.
- Do I have experience with spray painting? If no, go professional.
- Do I own or have access to proper spray equipment? If no, go professional.
- Am I comfortable with the result not lasting more than two to three years? If no, go professional.
- Is this a low-visibility area where a less-than-perfect finish is acceptable? If yes, DIY could work.
- Am I doing this as a learning exercise on a low-stakes surface? If yes, DIY could work.
If you answered "go professional" to three or more of those questions, your time and money will almost certainly be better spent hiring a reputable UPVC spraying company.
Frequently Asked Questions
Can I spray paint my UPVC windows with aerosol cans?
You can, but the result will be significantly inferior to a professional spray. Aerosol cans do not atomise the paint finely enough for a smooth finish, the pressure is inconsistent, and you will need a large number of cans to cover even a modest number of windows. The paint in most UPVC aerosols is also single-pack acrylic, which is less durable than professional 2K polyurethane.
How easy is it to spray UPVC windows?
The spraying itself is the easier part. What most people underestimate is the preparation: the cleaning, degreasing, abrading, priming, and masking that must happen before any paint is applied. Preparation accounts for roughly 70 per cent of the total work on a professional UPVC spraying project. If you cut corners on preparation, the paint will not last regardless of how well it is applied.
Can I paint UPVC windows myself with a brush?
You can apply UPVC paint with a brush, but the finish will show visible brush marks and texture. Spray application gives a far smoother, more even result. If you do decide to brush paint, use a high-quality synthetic brush, apply very thin coats, and expect to need three or four coats for even coverage. For guidance on paint types, read our guide on what spray paint to use on UPVC.
What is the best DIY UPVC spray paint?
If you are going the DIY route, the best results come from specialist UPVC paints like Kolorbond, Rust-Oleum UPVC paint, or Zinsser AllCoat. These are single-pack formulations that are easier to work with than professional 2K paint but are less durable. Always use an adhesion promoter first, regardless of what the paint label says about self-priming.
How long does DIY UPVC paint last?
With good preparation and a quality single-pack UPVC paint, you can expect a DIY finish to last two to five years before it starts showing wear. This compares to 10 years or more from a professional 2K spray. The difference is down to the paint chemistry, the quality of preparation, and the consistency of application. Our guide on how long UPVC spraying lasts explains the factors in detail.
Can I fix a bad DIY UPVC paint job?
If the existing paint is peeling or flaking, it needs to be fully removed before the surface can be resprayed. This adds significant time and cost to the project. If the existing paint is sound but simply looks uneven or textured, a professional sprayer may be able to lightly abrade the surface and apply a fresh topcoat over it. In either case, the best starting point is to get a professional assessment of the current condition.
Do I need to prime UPVC before painting?
Yes. UPVC has a low surface energy, which means paint does not bond to it easily. An adhesion promoter or specialist plastic primer is essential for any UPVC painting project, whether DIY or professional. Skipping this step is the most reliable way to guarantee that the paint will peel off within months.
Want It Done Right First Time?
If you have decided that professional UPVC spraying is the way to go, UPVC Spray Team is here to help. We cover the entire UK, use professional 2K polyurethane paint on every project, and back our work with a 10-year guarantee. Get a free quote and find out how affordable a professional finish really is.
More guides: Does UPVC spraying work? | UPVC spraying before and after | Best UPVC paint colours | How to spray paint UPVC window frames